INGREDIENTS
1/3 Cup Starter – Fed, Active, and Bubbly
1 Cup Water
4 Tablespoons Avocado Oil
1 Tablespoon Honey
4 Cups All Purpose Flour
2 Teaspoons Himalayan Pink Salt
ASSEMBLY
- Feed your starter in the morning.
- Prep the dough later that afternoon or evening, when your starter is active.
- Add the starter, water, oil, and honey to a stand mixer bowl. Mix together until fully incorporated.
- Add the flour and salt, and mix together until fully incorporated.
- Cover the bowl with a wet towel and let it sit for 30 minutes.
- With a dough hook, knead the dough on LOW for 10 minutes.
- After kneading the dough, it should be in the form of a ball.
- Cover the bowl with plastic wrap and let it sit over night on the counter.
- The next morning the dough should have doubled in size.
- Heavily grease a bread dish with avocado oil. I use a glass bread pan.
- I heavily oil my bread dish to help prevent it from sticking, so it’s much easier to remove.
- Remove the dough from the bowl and fold it over on all sides about 8 times total.
- Form the dough in the shape of a large hoagie roll and place in the bread dish.
- Keep the dough uncovered and let it rise in the bread dish for 3 hours.
- I typically keep the dough in the oven, with both the oven and light turned OFF while it rises.
- Remove your bread from the oven and place on the counter. Preheat the oven to 450F.
- Place 1 cup of water in a separate baking dish and add it to the very bottom oven rack.
- The steam from the water helps keep the moisture inside the bread while allowing the outside to be crispy.
- When your oven is preheated to 450F, place the dough in the oven on the middle rack and turn the oven down to 375F.
- Bake the bread for 40 – 45 minutes. Rotating once or twice to prevent the sides from browning more than the other.
- Remove the bread and allow to cool in the baking dish for 15 minutes.
- Carefully remove the bread from the pan. This might take a little patience, but it’s worth it!
- I typically take a skinny metal spatula and gently scrape all of the sides, and sometimes the bottom if necessary to help the bread release easier.
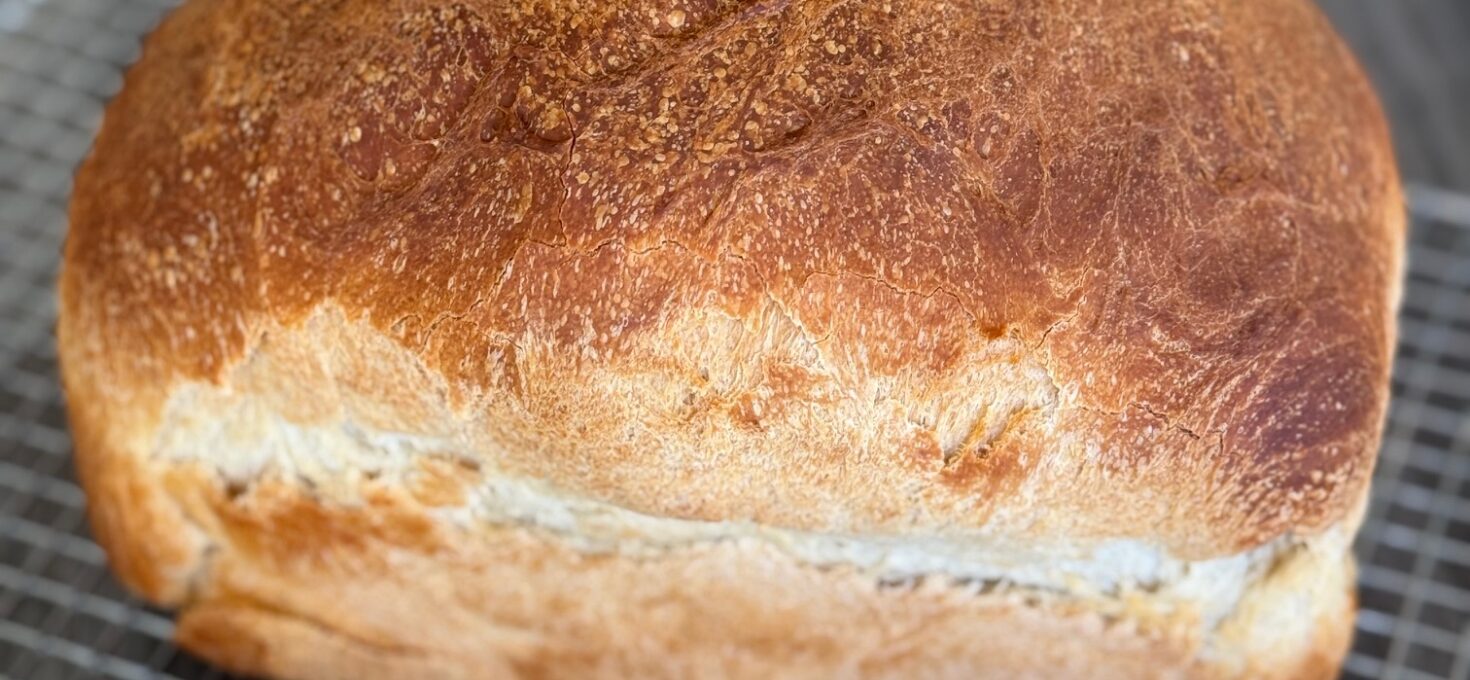
- Let the bread cool on a cooling rack.
- ENJOY!